Before we go onto the next step, though, I'll just take a second to remind you of the main principle we're working with: to put together a mold with plan, longitudinal and cross-sections built in. We've already traced the plan and cut the base plate to shape, so there's our plan section. We've made two blocks, one on each side of the centerline, so we've created a place for us to (eventually) draw our longitudinal section. Now we're at the point where we can insert our cross sections. But how do we do that?
Answer: by very carefully marking the cross section points on the mold blocks, and then sawing the blocks at those points. As you will see, by doing this we'll create surfaces on which we can draw in the cross sections from our plan. After we put together all the pieces, our cross sections will be there, inside the mold, patiently waiting for us to carve down to them.
That part's down the road a bit, though. First of all, we need to mark and cut apart these blocks accurately at the cross section points.
Cutting the Cross Sections
The logical place to start is at the bottom of the mold--the last cross section. While you've got the base plate accurately clamped to the mold blocks, mark the position of that last cross section (you can see it on the edge of the base plate) on both blocks. Then before you unclamp the base plate from the blocks, drill some pilot holes through the base plate into the blocks below that last section, so that you can screw the blocks accurately back onto the base plate. (I use 2" #10 screws and big washers for this job).
 |
| Screw with washer, cross section marked |
Now, find your cross section mark on the bottom of the blocks. Use an accurate square to mark a line across the bottom, and to "wrap" that line all the way around the block. Take the block to the band saw (which is well set-up, with the blade perpendicular to the table), and cut the block along the line. Cut carefully but smoothly--and make sure that your saw kerf is on the outside of the cross section line.

When you've cut both blocks, return them to the base plate, and screw them up in position. How are things looking? Reasonably accurate?
 |
| Yeah, reasonably accurate... |
Good--then clamp the remaining blocks into position tight against them. (By the way, there should be no need to plane or otherwise true up the faces of the blocks you've cut--whatever little wiggles you made with the band saw will be the same on each side of the kerf, so the two pieces should fit together closely.) Now do the same procedure--mark the next cross section point, drill pilot holes, unclamp, draw a line around the blocks, then cut with the band saw. Continue until you've cut the blocks at all the cross section lines (all except the section where the top block will eventually fit up to the mold--we'll true that up later, during the carving process.)
It should be clear now why I said to leave the mold blocks extra-long, and that's because with every cross section line you cut, you lose about 1mm or more of length (the width of the saw kerf). Added up over the length of the mold, you could lose a total of 6-10mm--so you need to plan ahead.
At this point, you should be able to screw all of the little blocks to the base plate, and if you've done your work well, they should all fit together tightly. Here's what it looks like from the top side:

Look closely--all the cross sections have been cut. Here's what things look like on the underside of the base plate, with all the sections screwed up into place:

A quick detail shot:

Drawing the Sections
Our next step is to transfer the longitudinal and cross sections from our drawings onto the blocks we've cut. Let's do the longitudinal section first.
You now have all the blocks screwed up to the base plate, so while they're there, take a long clamp and clamp together, from bottom to tip, all the blocks on one side of the mold. Let's make it the bass side of the mold (since this matches my drawing best). Unscrew all the blocks on that side, and lay the clamped blocks face up on the bench. Place the drawing of the longitudinal section on it carefully, and remember to account for the thickness of the base plate.


The longitudinal section on my drawing is a little faint in this picture, but trust me, it's there. I'll just transfer the line to the block using my dividers set at 1.5mm (the thickness of the rib material), then remove the drawing and trace the line using a sharp pencil and flexible curve. How's it look? Again, it's faint--I've used a sharp, hard pencil to draw it--but it's there.

With the long section traced, I'll screw all these blocks back onto the base plate, and go on to the cross sections. We'll work with the same principle, this time clamping across a pair of blocks, removing them together from the mold. Let's begin in the logical place, with the bottom cross section.


Lay the clamped blocks face up on the bench, and carefully place your cross section drawing on the surface (again, remember to account for the base plate.) With the drawing either taped or tacked in place, prick through it with your dividers set at 1.5mm (the thickness of the rib) to transfer the cross section to the blocks. Also be careful to mark the exact locations of the rib joints.
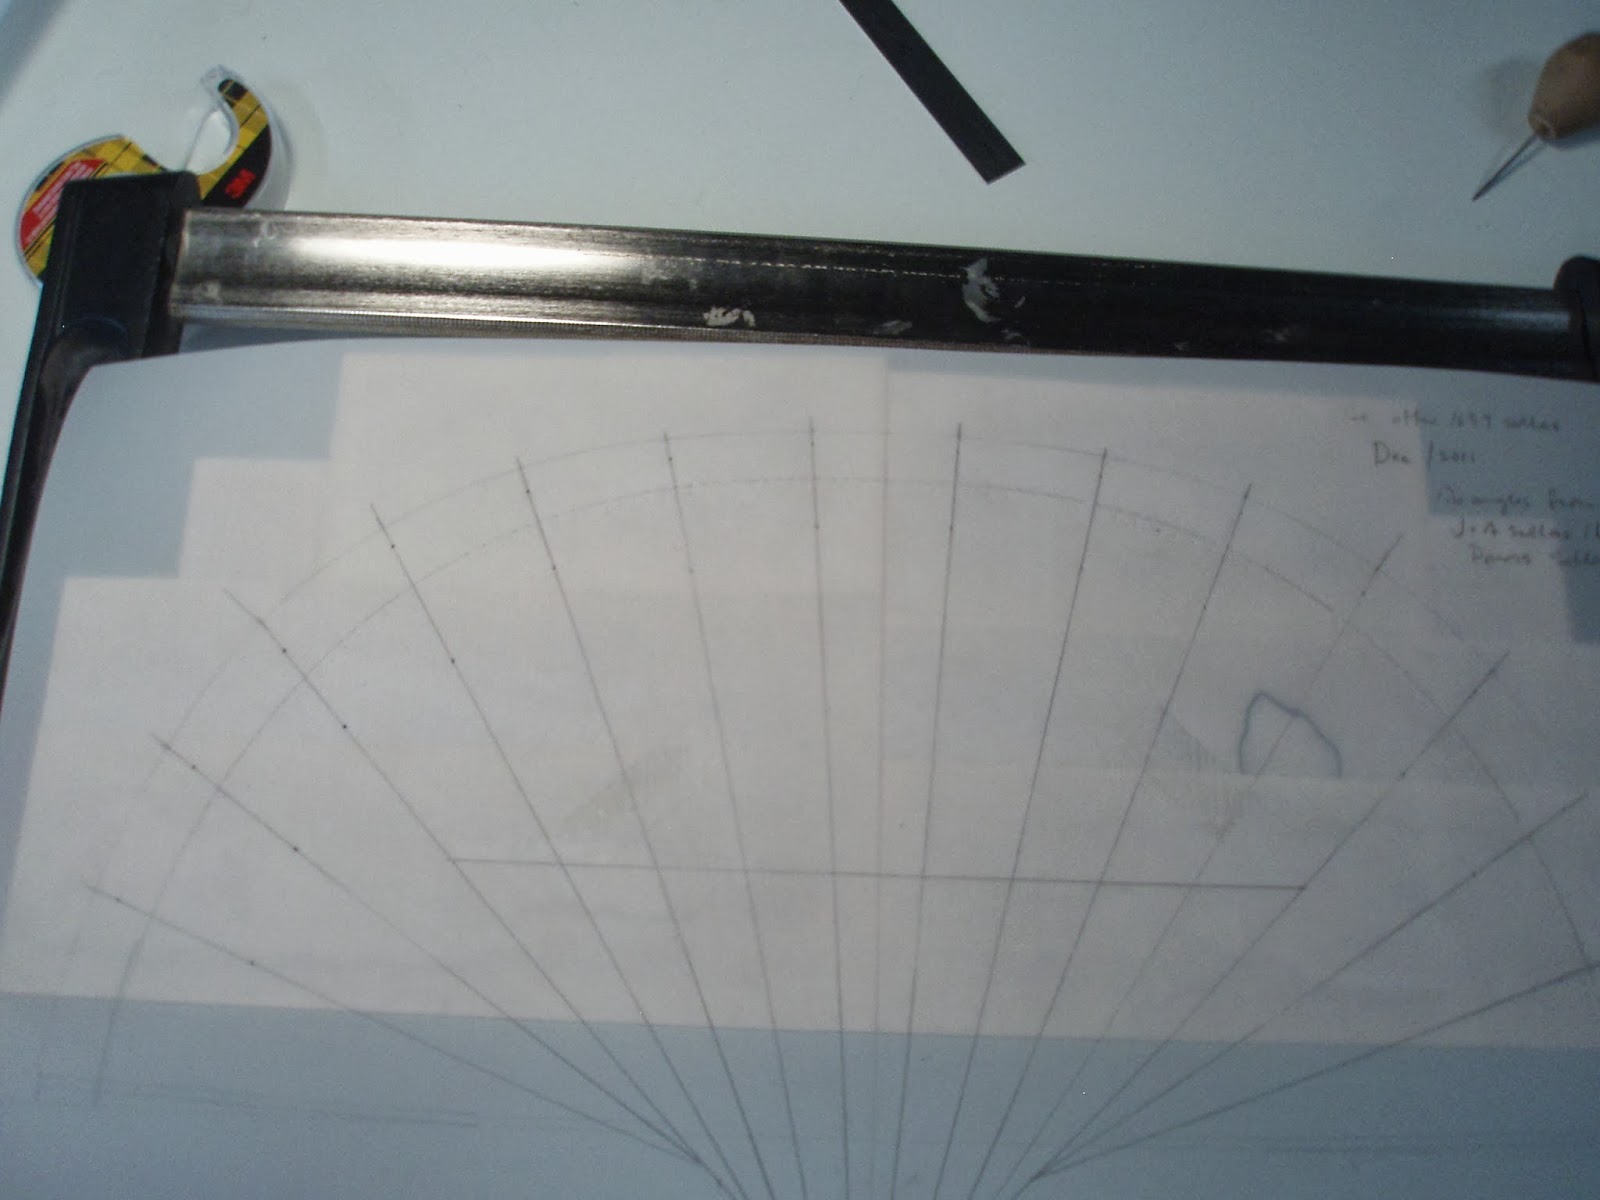
Remove the drawing, and with a sharp pencil and flexible curve, draw in the cross section line and rib joints. Here's what things should look like:


If everything looks good, unclamp the blocks, set them aside, and go onto the next pair.
By the way, unlike the bottom blocks you've just marked, all the section blocks from now on will have two sawn surfaces upon which could be traced two cross sections. However, you only need to trace one cross section--the cross section that is the larger of the two (that is, the one that's on the 'uphill' side of the block.) If that sounds confusing, don't worry--I'll show you pics at a later stage that will show just what I mean.
I think that will be all for now. There's a lot of information here to digest, and for both of us it's already been a long day at the work bench. Let's take a break--read a poem, go for a walk, enjoy what's left of the day. I'll talk to you again soon.
No comments:
Post a Comment